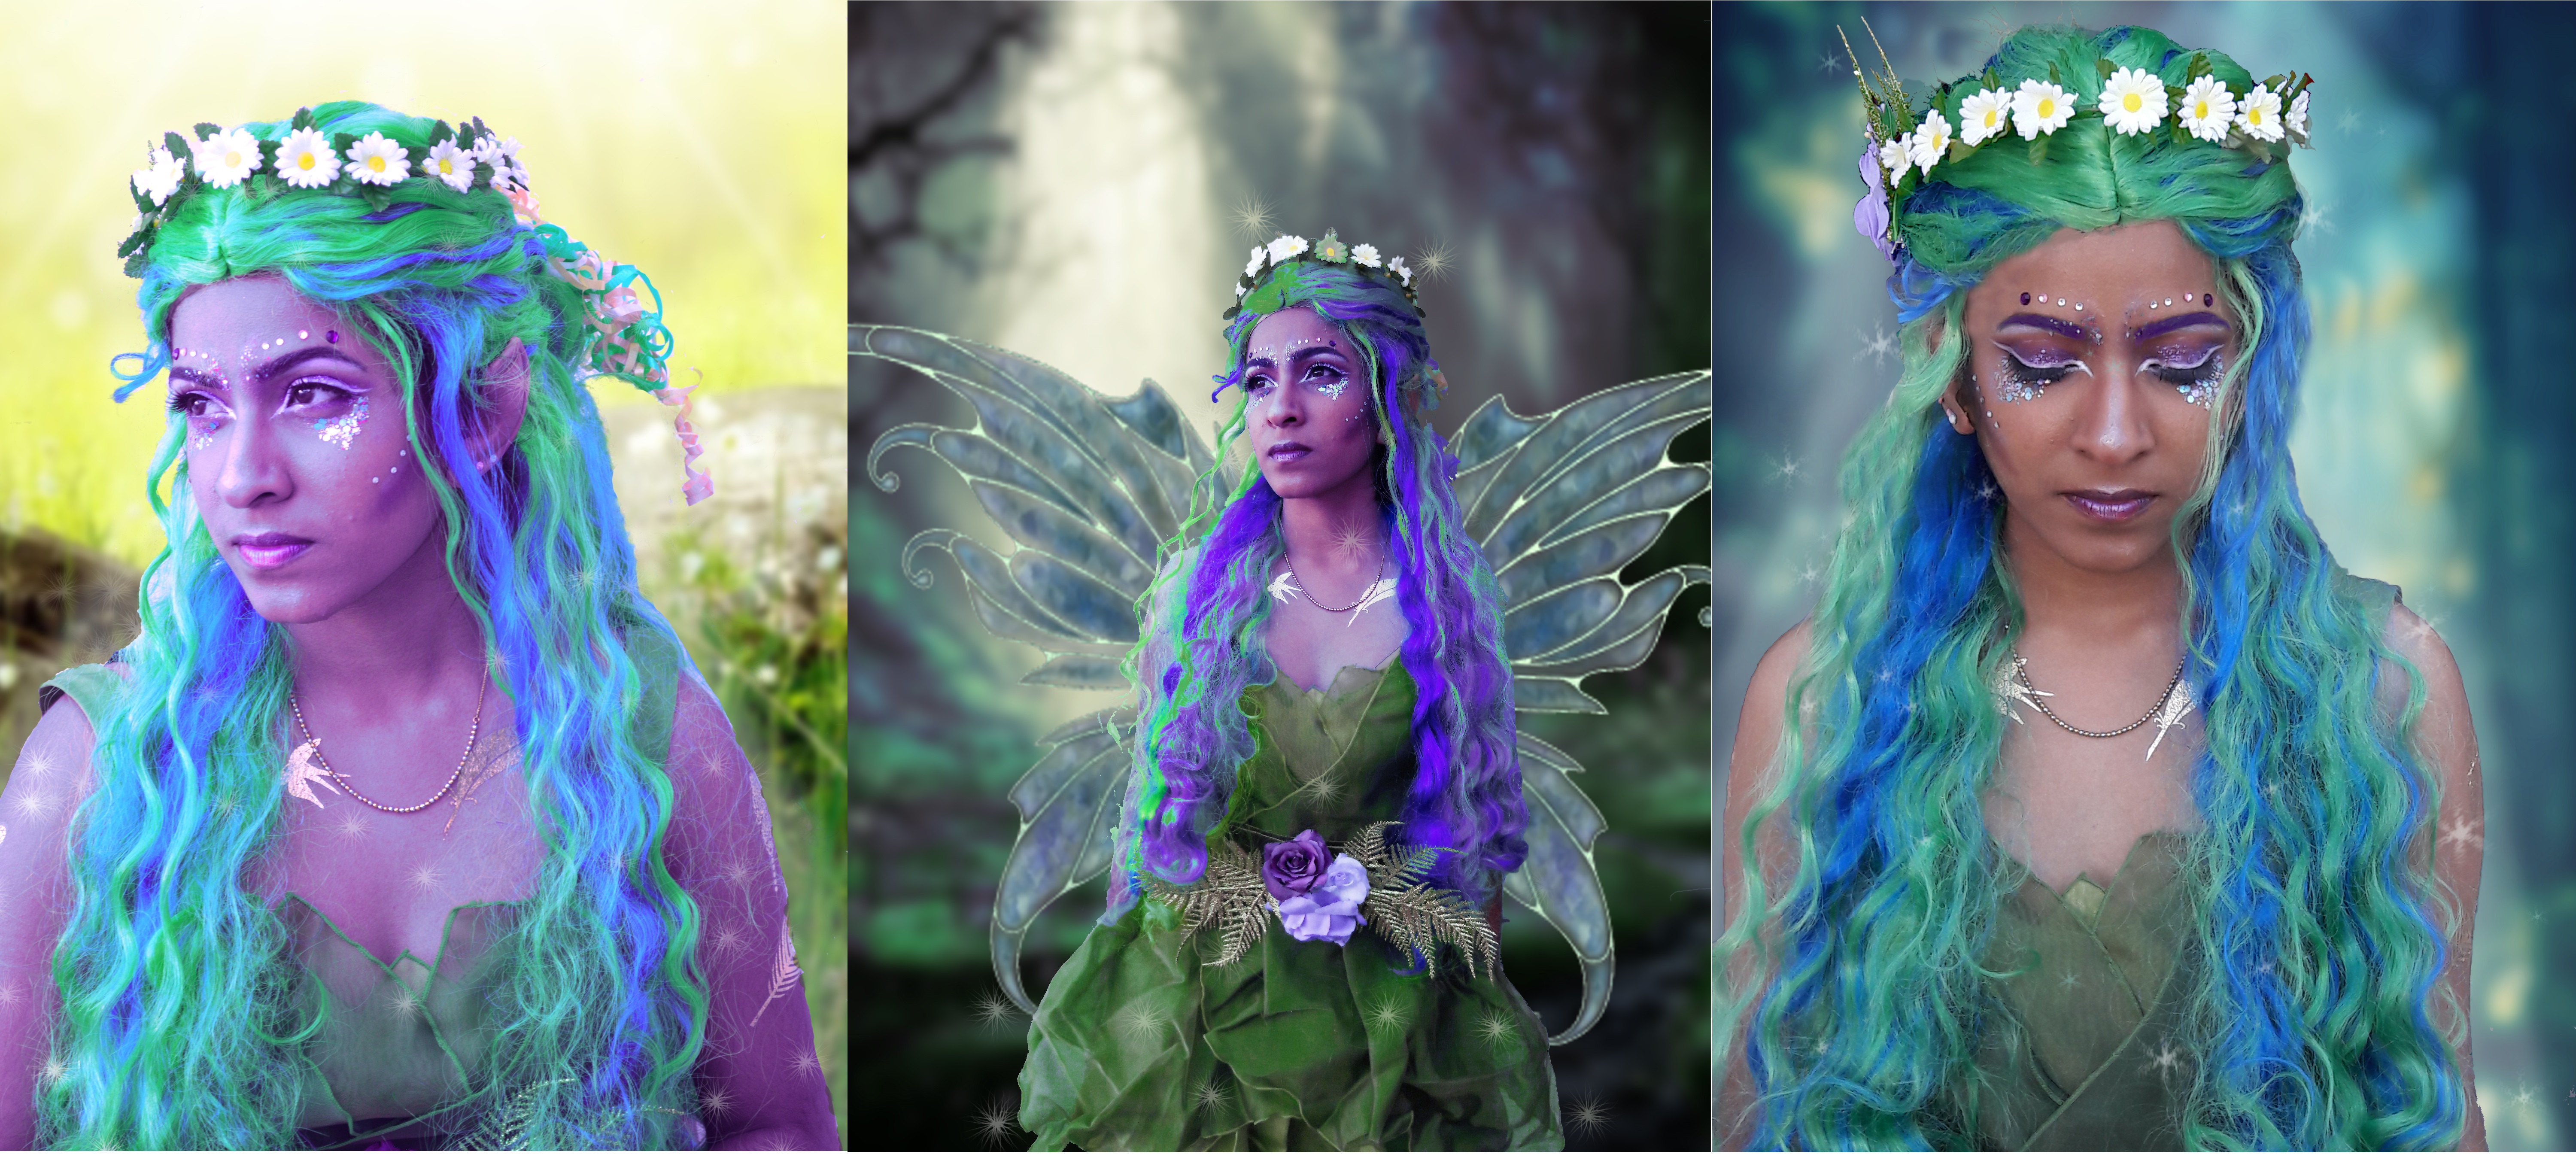
-
Fairy Makeup Transformation: A Mythical Makeup Tutorial
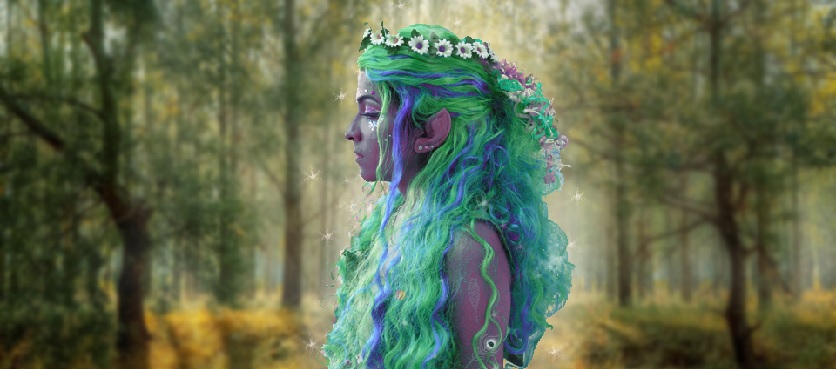
By Anita Alex
Fairies are popular creatures whose tales have been told and retold throughout history. We now view fairies as tiny creatures with beautiful, glittering wings, waving a magic wand, and leaving a trail of sparkling fairy dust as they flutter about.
However, long ago when belief in fairies was strong, they were something to be quite fearful of. There was a good amount of fear in speaking their name, so they were mostly mentioned as the “little people” or “hidden folk.” There is no single origin for fairies and many different theories as to where they came from. A popular theory was that they were spirits of the dead. They were even thought to be fallen angels, stuck to wander around Earth for many, many years.
But just like humans, there are good fairies as well as bad ones. And hopefully, you never have to encounter the latter.
In this tutorial, I show you how to transform yourself into a fairy. Don’t worry; it’s not the gruesome, fearsome fairy I talked about earlier. So no, this look will not cause kids to start screaming and running for their life.
For this transformation, you will need:
- • Base makeup
- • Eyeshadow pallet that has various shades of purple colors
- • Face gemstones
- • Makeup brushes
- • Lipstick
- • Glitter primer
- • Cosmetic glitter
- • False eyelashes
- • Mascara
- • White cream makeup, or white eyeliner
- • Fae (or elf) ears
- • Wig
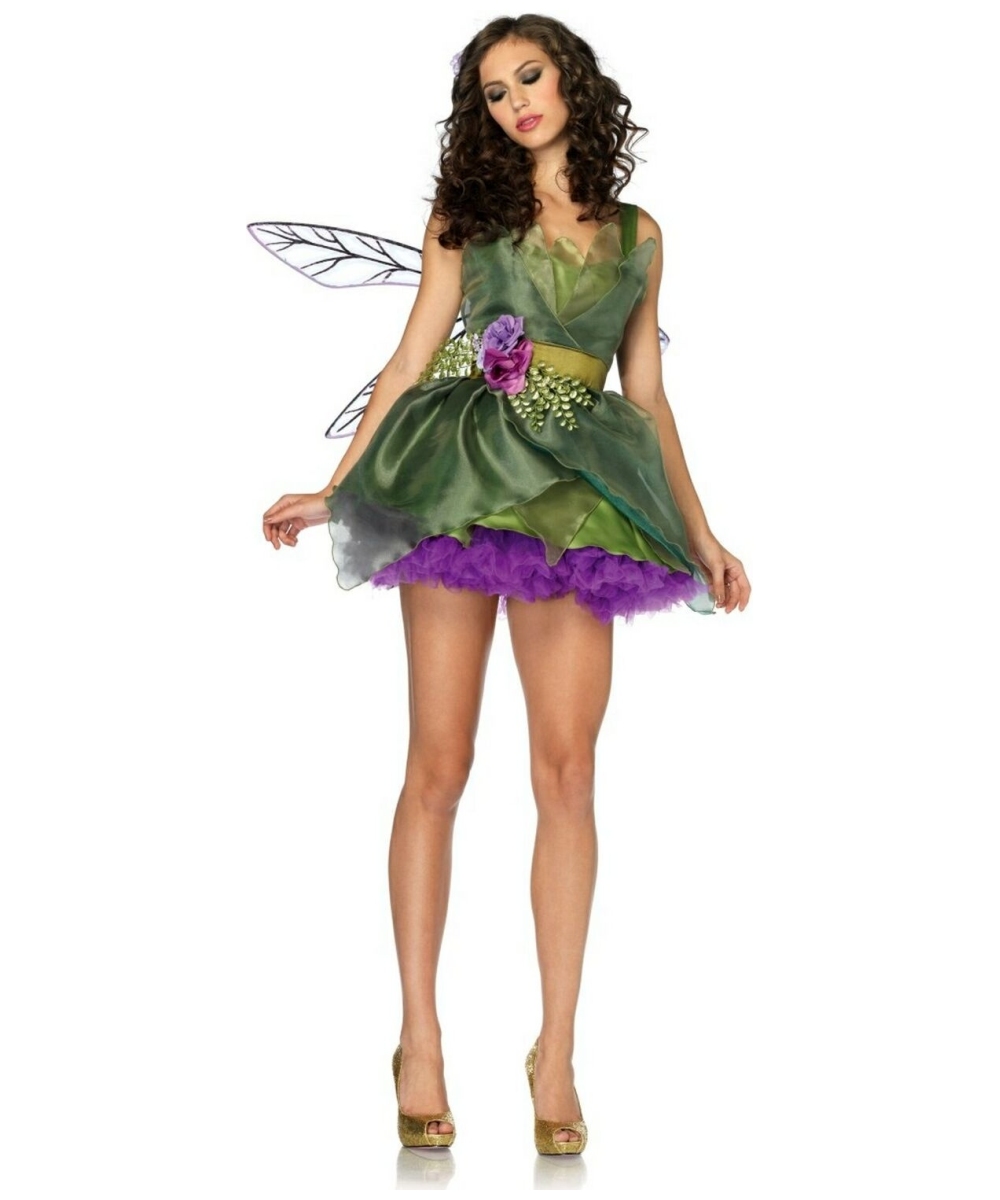
- • Fairy Costume
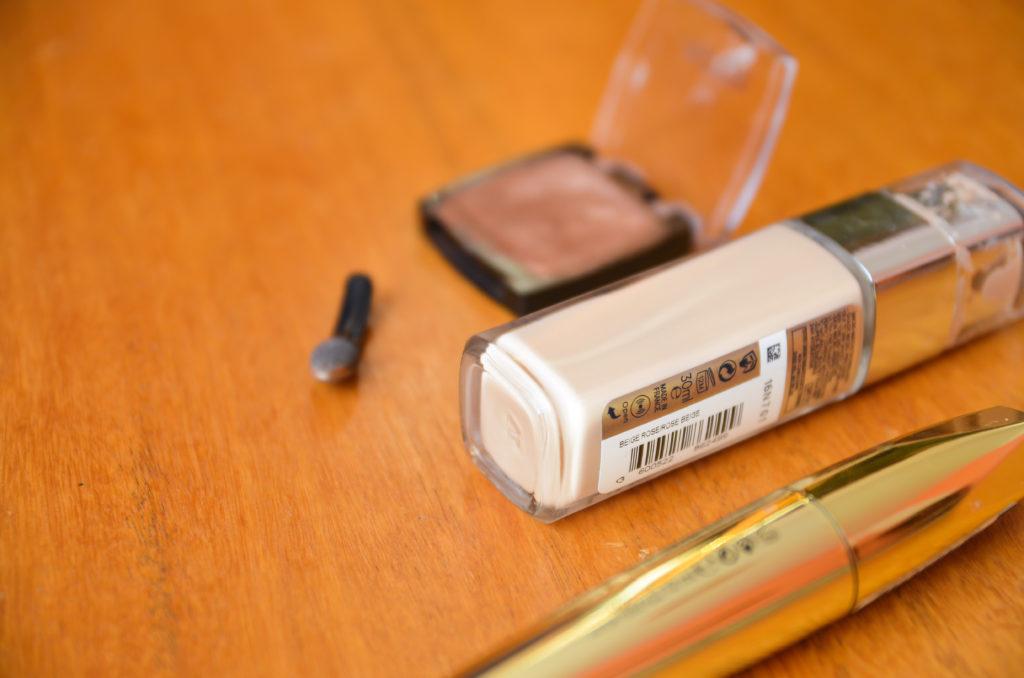
- 1) Makeup is art, and with any art, you must first start with a blank canvas. Apply base makeup, such as foundation and concealer.
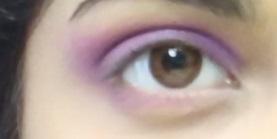
- 2) Next, you’re going to want to take any matte medium shade purple eyeshadow and apply it on the whole lid. This will be the base color for the rest of the eye.

3) After you apply the purple shade to your top lid, don’t forget to apply it on the outer part of the lower lash line. This balances out the heavy pigment on top.
4) Since fairies are known for their glittery, sparkling shine, we are going to add some glitter on the lids. But first, apply some glitter primer on the lid. You can use either a brush or a sponge to do this.
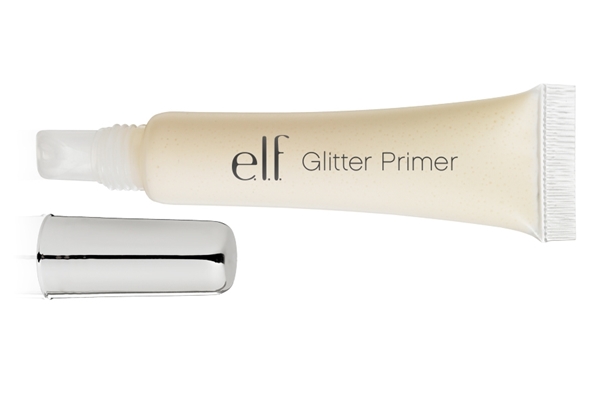
5) Before the primer dries, quickly pat some cosmetic glitter to where the area you applied the primer with a sponge. You can use a brush for more precise application.

6) Next step is eyeliner. Take any white eyeliner to line your eyes. I recommend using either a liquid liner or a cream/gel liner as it will glide over the glitter smoothly. Make sure to extend the liner outwards to create a wing from the outer portion of the eye. From the opposite corner, extend the beginning of the liner just until it hits the bridge of your nose, and then connect it to the lower lash line. Stop until you reach the center the lash line.
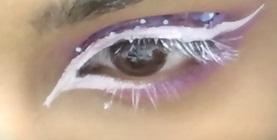
7) Next, we’re going to add some glitter to area underneath the eyes. So take out that glitter primer again and apply with a sponge, and then pat some glitter right on top. Focus on the middle and the outer area underneath the eyes, thinning the “glitter line” so that it almost touches the wing of the liner.
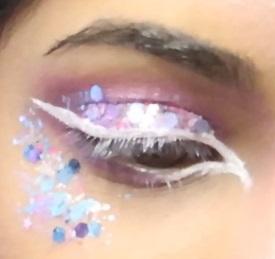
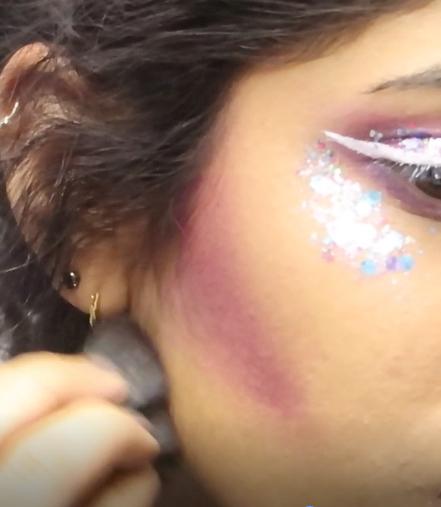
8) We’re almost done with the eyes, but for now let the glitter set and dry. In the meantime, let’s do some contouring. With the same color purple you used for the eyes, contour the hollows of your cheek without blending so much. Fairies are usually seen with high, sharp cheekbones. A sharp contour line will help achieve that effect. Remember to contour the bridge of your nose and your jawline.
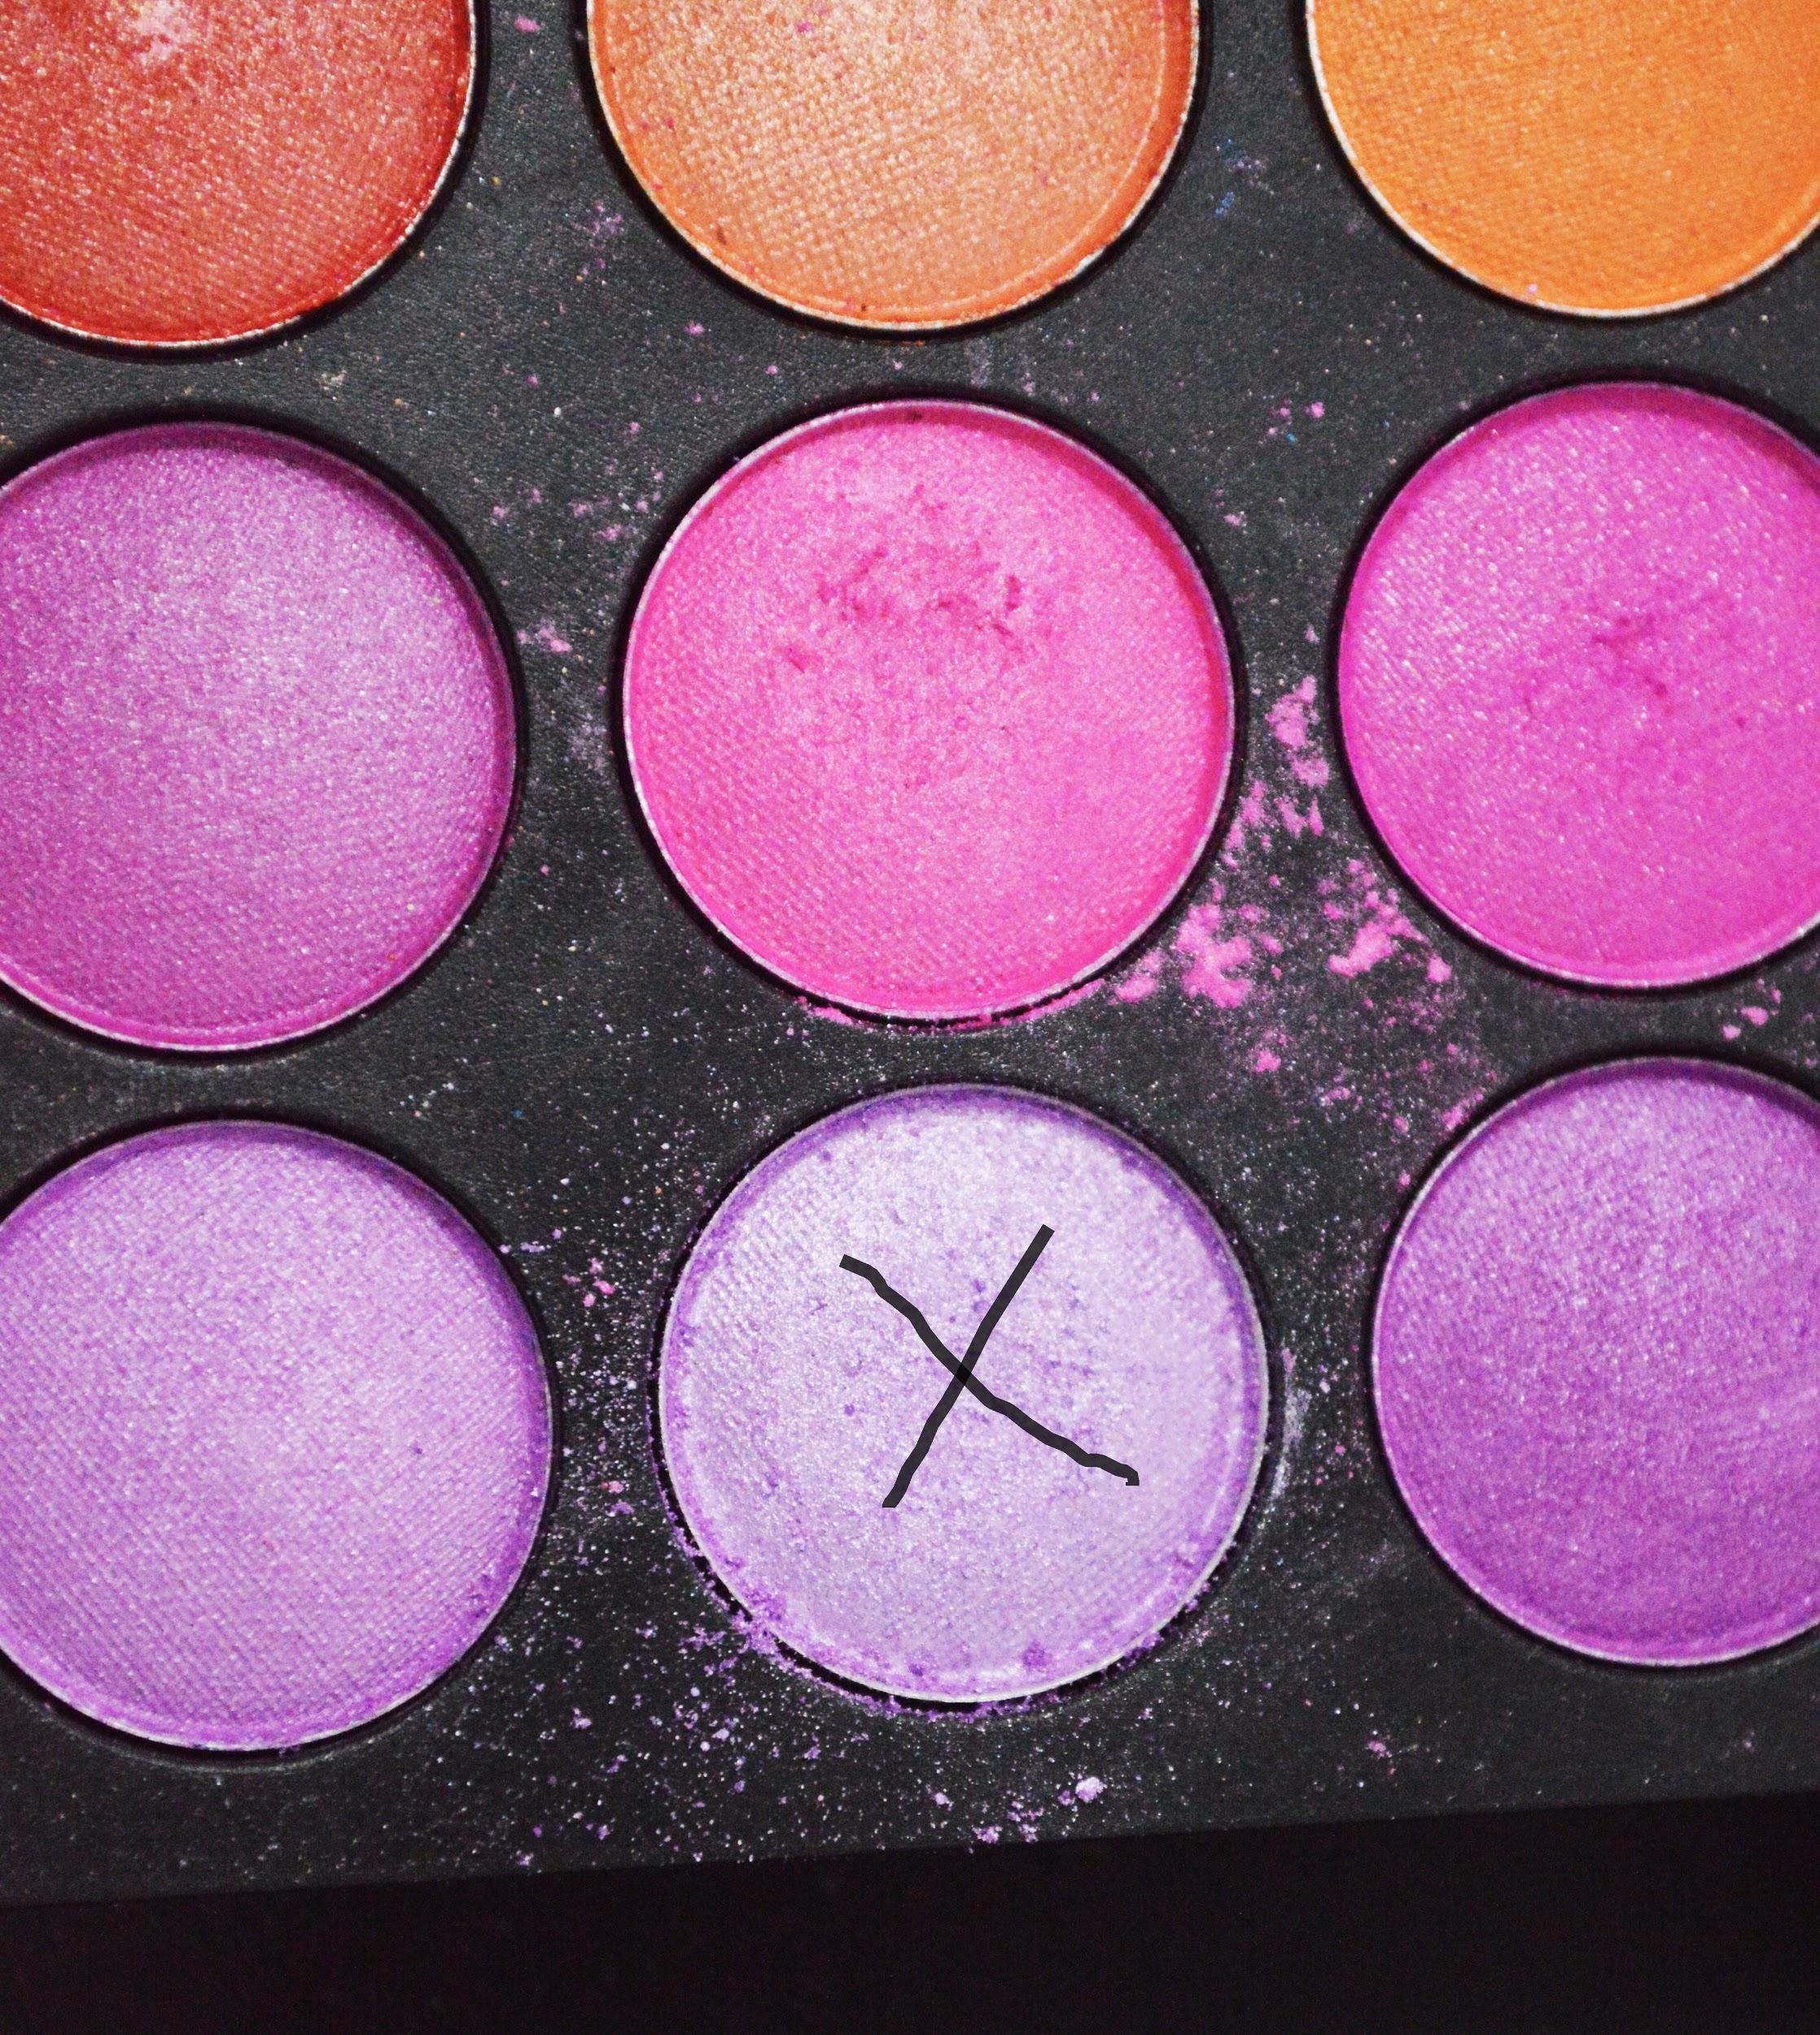
9) After contouring comes every fairy’s favorite part: HIGHLIGHTING! Highlighting creates an illuminating effect that makes your face glisten with every step. Use a light, shimmery lavender pigment to highlight the tip of your nose, forehead, cupid's bow, chin, brow bone, and on the high parts of your cheekbone.
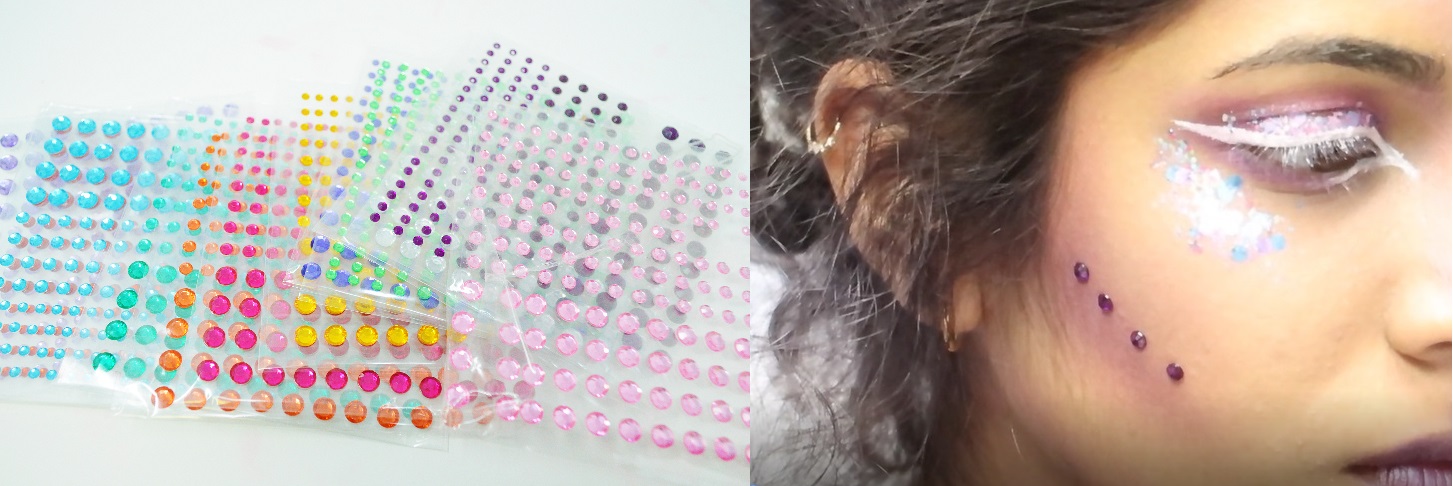
10) Now it’s time to put on gemstones. The gemstones I used had adhesive backings but you can use nonstick gemstones by putting a tiny bit of glitter primer or even a lash adhesive as an alternative.
I applied them right on top of my cheek contour to add emphasis.
11) Next, we’re going to make our eyebrows purple. Because I have dark hair, the purple pigment is not going to show up on its own. So I applied the same cream makeup that I used for my liner to cover my whole eyebrow. Alternatively, you can use a really light concealer or foundation. Once that is done, you can pat on some purple pigment directly on top. You can use the same shade of purple or a mix of purples.

12) Once we got some purple brows, apply some glitter primer only to the beginning up the eyebrow and spread it upwards.

13) Take some gemstones and place them along the shape of your eyebrow. You can use any color gemstones. Silver, white, pink, or purple are best as it suits the color scheme of this look.
14) For the lips, apply any kind of lipstick. If you have a purple lipstick, you can apply that and just skip this step. I used a red lipstick and lightly applied one layer. Then I patted some dark purple pigment and tapped on the ends of my lips. Then I took a light, shimmy purple (the same color I used to highlight) and patted that on the center of my lips. This adds a 3-dimensional effect.
15) Finally, add some false lashes. Apply mascara to blend in your real eyelashes with the false ones. Your makeup look is complete!
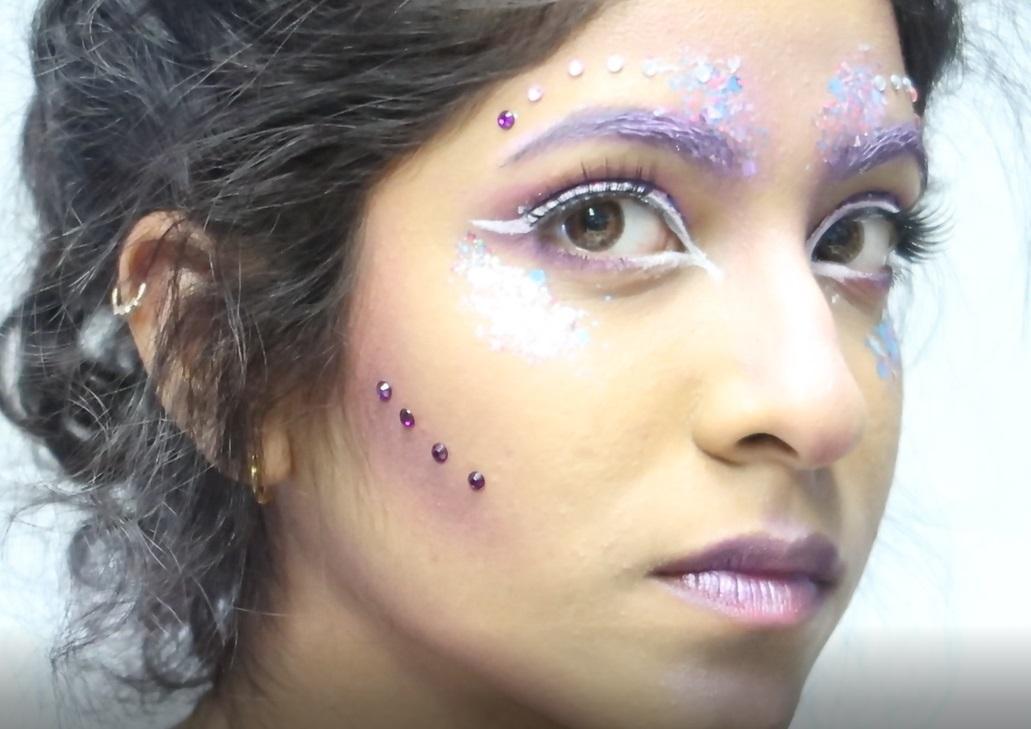
Put on your costume, elf ears and wig, and get ready to leave a trail of fairy dust with every step!
